Production Blog: Editing Pictures and Videos
This is the day that I started actually putting together my commercial! Because of my research and planning prior to starting the commercial, I didn’t need to spend any time choosing what pictures to put in my commercial when I finally took to Capcut. The first thing I did to start my creation was edit the quality and elements of the pictures. For example, I edited the brightness on most of the pictures because they looked better a bit dimmer, and were too bright for my liking. I also attempted to put one of the lower-quality pictures into a photo enhancer website. However, when I put it through the website, I was unable to save the processed picture without a watermark or paying. I looked for other websites and none were free, so I ended up having to find a new picture. Luckily, I had another picture of my cat Lucy on my back that was a bit better visual quality, but the artistic quality of the photo was definitely lesser than the one before. Even so, I decided a higher-quality photo would be the better option to include so I edited and inserted the new one.
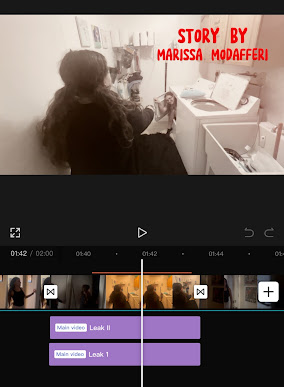
After I finished editing and cropping the photos to fit the frame, I inserted my two videos. I cropped the videos to fit and trimmed them to the length necessary. They fit a little differently than the photos, but I decided I would do something with the empty space later on because cropping them to fit the frame would make them look odd. Luckily, I didn’t have to replace any of the videos for any reason, so I was good to go there.
After addressing the videos, I wanted to fill the black screen at the beginning of my commercial. I was not a fan of any of the Capcut fonts or backgrounds, so I decided to take to PowerPoint to create a title slide. I made a slide on PowerPoint and logged into it on my phone to download a photo of the slide and then inserted that as my title text.
Next, I wanted to find what length each of the clips would be. To do this, I would have to insert the song. Only after inserting the song would I be able to match the clips to the beats and see how long each would be. To insert the song, I first had to find a place to obtain it on my device. I first thought I could screen record the sound from Apple Music when I played it on my phone, but that did not work. I should have assumed this because if it had worked, that would make it extremely easy for people to steal music. I decided to end my work there and think about how to find a way to obtain the music for later.


Comments
Post a Comment